Learning how to cut a tshirt into a tank top is a simple, fun, and eco-friendly way to refresh your wardrobe. This do-it-yourself project turns old or oversized shirts into stylish summer wear. As a result, you save money and reduce textile waste at the same time.
Moreover, customizing your own tank top allows full creative control. You choose the fit, neckline, and sleeve style. Whether you prefer a loose boho look or a snug athletic cut, the choice is yours. This personal touch makes each piece unique.
Additionally, the process requires only basic tools. All you need is a pair of sharp scissors, a marker, and a ruler or measuring tape. No sewing machine or advanced skills are necessary. Therefore, it’s perfect for beginners.
Many people use this method to upcycle favorite shirts with sentimental value. A band tee or souvenir shirt can live on in a new form. Thus, memories stay close while staying cool in warm weather.
The trend also supports sustainable fashion. Instead of discarding worn tees, you give them new life. This small act reduces environmental impact over time.
Ultimately, knowing how to cut a tshirt into a tank top empowers you to express yourself. It blends creativity, practicality, and sustainability in one satisfying project. And once you try it, you’ll likely want to make more.
 Why Turn a Tshirt into a Tank Top?
Repurposing a tshirt into a tank top solves several common problems. First, many people have drawers full of old shirts they no longer wear. These garments often fit poorly or feel outdated. By cutting them, you transform clutter into useful clothing.
Also, store-bought tank tops can be expensive. Quality pieces cost $15 or more per item. In contrast, this DIY method costs nothing if you use what you already own. Over time, the savings add up.
Another reason is comfort. Commercial tanks may have tags, tight seams, or stiff fabric. When you make your own, you avoid these irritants. The end result feels soft and moves with your body.
Furthermore, customization beats mass production. Off-the-rack styles rarely offer perfect fits. With a homemade tank, you adjust every detail. Sleeve width, length, and neck depth all match your preferences.
Sustainability plays a big role too. The fashion industry produces massive waste each year. By reusing clothes, you take a stand against fast fashion. Small actions like this create larger change.
Seasonal needs also drive the trend. Summer brings heat and humidity. Lightweight tank tops keep you cool during outdoor activities. Making them from existing shirts is logical and efficient.
Finally, the process builds confidence. Completing a visible project gives a sense of achievement. Next time, you’ll feel more comfortable trying other DIY fashion ideas.
Tools and Materials Needed for Cutting a Tshirt
Gathering the right tools makes the process smoother. Start with a clean tshirt. Choose one made of cotton or a cotton blend. These fabrics hold their shape well and are easy to cut.
Next, get a pair of sharp fabric scissors. Kitchen or craft scissors may dull quickly. Dressmaker shears work best for clean, precise cuts. Always use scissors only for fabric to maintain their edge.
A washable fabric marker or chalk pencil helps mark guidelines. Regular pens bleed and stain. Temporary markers disappear after washing. This ensures accuracy without permanent marks.
Use a ruler or measuring tape for straight lines. Necklines and hems need even spacing. Measuring both sides prevents lopsided results. Consistency improves the final look.
Pins or clips hold layers together. If your shirt has double fabric at the shoulders, pin them before cutting. This avoids uneven slices between front and back.
A flat surface like a table or ironing board provides stability. Lay the shirt smoothly without wrinkles. Smooth fabric leads to cleaner cuts.
Optional items include sandpaper or fray check. Some knits unravel over time. Lightly sanding edges creates a worn-in look. Fray check liquid stops threads from loosening.
Having everything ready saves time. You won’t need to stop mid-project. Preparation sets you up for success.
 Step-by-Step Guide
How to cut a tshirt into a tank top? Begin by laying the tshirt flat on a clean surface. Smooth out any wrinkles with your hands. Make sure the sleeves and hem align evenly. This creates a balanced base.
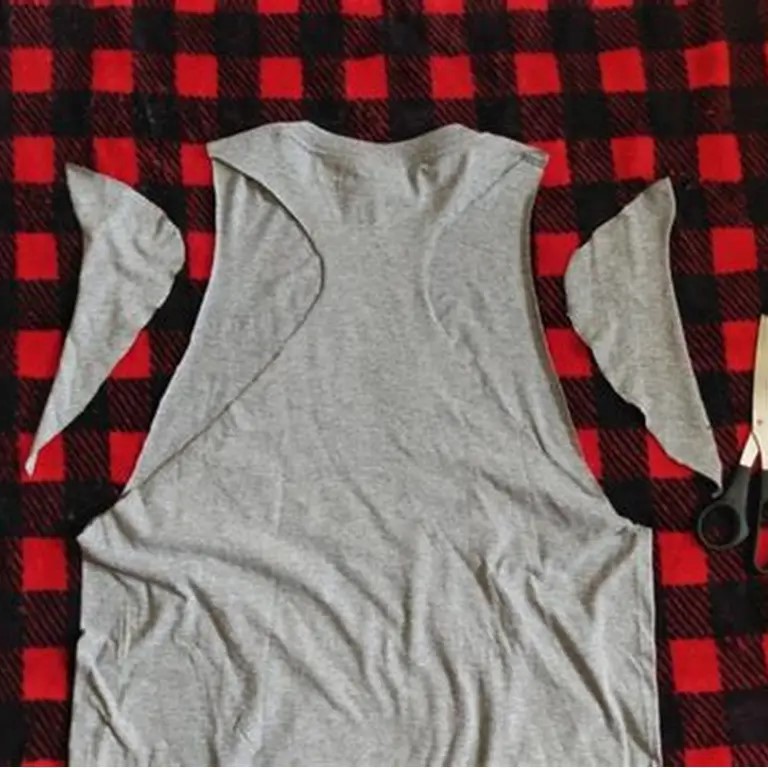
Decide where to cut the sleeves. Most people remove them just inside the seam line. Use a marker to draw a curved line from the shoulder to the side. Follow the original armhole shape.
Cut along the marked line slowly. Keep the scissors steady. Stop if the fabric shifts. Reposition and continue. Repeat on the other side for symmetry.
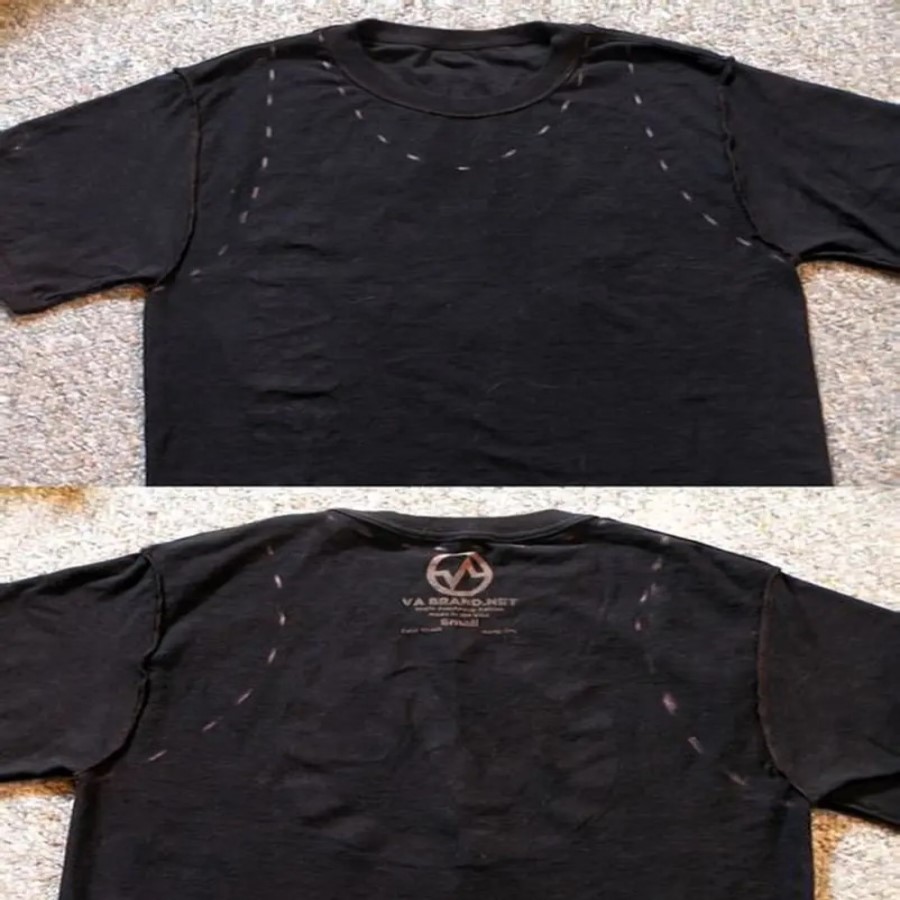
Next, determine the neckline style. A scoop neck is popular and flattering. Draw a U-shape across the front collar. Extend it slightly onto the shoulders. Use the back collar as a guide for depth.
Cut along the neckline carefully. Round off sharp corners to prevent tearing. Try the shirt on to check depth. Adjust if needed before finalizing.
Trim the bottom hem if desired. Straight cuts give a clean finish. Angled or curved hems add flair. Measure first to ensure even length.
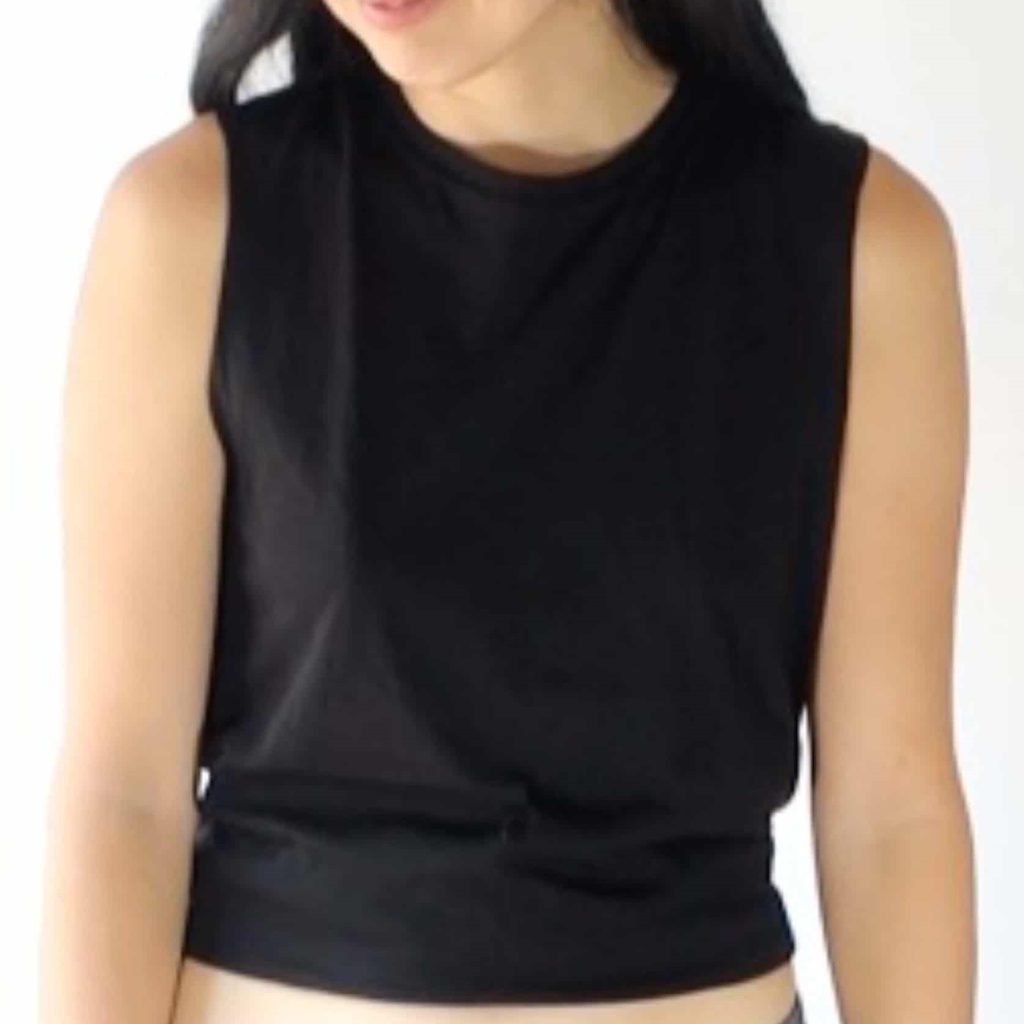
Finally, try on the tank top. Check fit and comfort. Wash it to soften the fabric and set the shape. Air dry to prevent shrinkage.
This basic method works for most casual styles. Once mastered, you can experiment with designs.
Creative Styles to Try After Learning How to Cut a Tshirt into a Tank Top
Once you master the basics, try bolder designs. One option is the racerback cut. Remove the entire back panel above the waist. Connect the shoulder blades with a deep V. This style offers freedom of movement.
Another idea is the off-the-shoulder tank. Cut horizontally across the upper chest. Stretch the neckline slightly for a slouchy look. This works well with stretchy fabrics.
Add fringe for a bohemian effect. After cutting the sleeves, slice thin vertical strips along the armholes. Knot them at the ends or leave them loose. Movement adds texture.
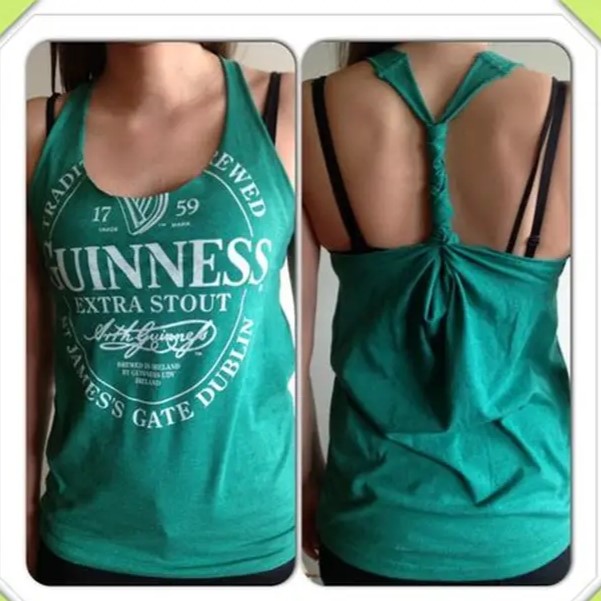
Try a braided strap design. Cut two long strips from the excess fabric. Braid them and attach to the shoulders. This replaces standard straps with handmade details.
Layered tanks create dimension. Cut the shirt into tiers. Leave connecting strips every few inches. Pull gently to separate layers. The result looks woven and unique.
Crop top variations are also trendy. Shorten the body to sit above the waist. Pair with high-waisted pants or skirts. This highlights the midsection stylishly.
For a vintage look, distress the edges. Use sandpaper or a nail file. Rub lightly along cut lines to fray them naturally. This mimics worn-in denim.
Each variation builds on the core skill. Experimentation leads to personalized fashion statements.
 Tips for Achieving a Clean and Professional Finish
Start with a well-fitting shirt. Ill-fitting originals lead to poor results. Too loose? The tank will sag. Too tight? Movement becomes restricted. Fit matters from the beginning.
Mark all lines before cutting. Use light pressure with the marker. Double-check measurements on both sides. Symmetry enhances visual appeal.
Cut slowly and steadily. Rushing causes jagged edges. Pause if your hand slips. Accuracy beats speed every time.
Wash the shirt before starting. Pre-shrinking prevents distortion later. It also removes dirt and softens the fabric.
Avoid cutting too much at once. It’s easier to trim more than fix a mistake. Leave extra material until you’re certain.
Use pins to secure folded areas. Shoulder seams often shift. Pinning keeps layers aligned during cutting.
Test the fit frequently. Put on the shirt after each major cut. Adjust while there’s still room to correct.
If fraying occurs, embrace it or control it. Some styles look better with slight wear. For clean finishes, apply fray check to raw edges.
Press with low heat if needed. Cotton responds well to steaming. Do not iron directly on printed areas.
These tips help turn a simple project into polished wearables.
Common Mistakes to Avoid When Cutting a Tshirt
One frequent error is cutting the neckline too low. Excitement can lead to over-cutting. Once removed, fabric cannot be replaced. Always start higher than planned.
Another issue is uneven sleeve removal. People often follow the seam on one side but stray on the other. Measure and mark both arms equally.
Skipping the pre-wash step causes surprises later. Shrinkage changes fit unexpectedly. Always launder the shirt first.
Using dull scissors creates ragged edges. Threads pull instead of cutting cleanly. Sharp blades make a noticeable difference.
Cutting through folded fabric risks mismatched sides. Layers shift easily. Work with the shirt fully open and flat.
Ignoring fabric grain leads to stretching. Knits behave differently than woven cloth. Cut parallel to the hem whenever possible.
Trying complex designs too soon leads to frustration. Master the basic tank before attempting braids or cutouts.
Not checking fit during the process results in poor outcomes. Wear the shirt at each stage. Confirm comfort and alignment.
Anticipating these errors improves success rates. Patience and planning prevent disappointment.
Caring for Your Handmade Tank Top
Proper care extends the life of your custom tank. Wash it in cold water to preserve color and shape. Hot temperatures weaken fibers over time.
Turn the shirt inside out before washing. This protects the outer surface from friction. Prints and designs stay vibrant longer.
Use gentle detergent. Harsh chemicals break down elastic and fade colors. Eco-friendly options are often milder.
Air dry whenever possible. Tumble drying causes shrinkage and warping. Hang or lay flat to maintain structure.
If ironing is needed, use low heat. Place a cloth between the iron and fabric. Direct contact may damage prints or melt synthetic blends.
Store folded rather than hung. Heavy fabrics stretch on hangers. Folding preserves shoulder shape.
Repair minor snags early. Use a needle to weave loose threads back. Small fixes prevent bigger tears.
Avoid wearing during intense workouts unless designed for it. Cotton absorbs sweat and takes time to dry. Performance fabrics handle moisture better.
With regular attention, your handmade tank stays fresh for months.
 Frequently Asked Questions
Can I cut a graphic tshirt into a tank top?
Yes. Just position cuts away from the design. Center logos look great on cropped versions.What if my cuts aren’t even?
Minor mistakes blend in after washing. Trim further if needed. Practice improves precision.
Do all tshirts work for this project?
Most do, but 100% cotton holds shape best. Thin or stretched shirts may tear easily.
How do I stop the edges from fraying?
Use fray check liquid or stitch lightly by hand. Sanding creates a controlled worn edge.
Can I make a tank top from a long-sleeve shirt?
Absolutely. Follow the same steps. Remove sleeves completely or roll them up for a hybrid style.
Is it safe to use regular scissors?
Only if dedicated to fabric. Paper scissors become dull and jagged. Invest in proper shears.
Can kids participate in this project?
Yes, with supervision. Let them choose designs and mark lines. Adults should handle cutting.
How long does it take to complete?
About 20–30 minutes for a basic tank. Complex styles may take longer.
 Final Thoughts
Knowing how to cut a tshirt into a tank top opens doors to creative, sustainable fashion. It transforms unused clothing into wearable art. Each piece reflects personality and effort.
The process is easy, affordable, and rewarding. With minimal tools, anyone can succeed. Mistakes become part of the charm.
More than just a craft, it encourages mindful consumption. You learn to see potential in what others discard. This mindset benefits both wallet and planet.
As trends change, handmade items remain timeless. A self-made tank carries stories and pride. It stands apart from mass-produced alternatives.
Whether you make one or ten, the skill stays useful. Seasons pass, but the ability to adapt clothing does not.
In short, this simple technique empowers self-expression. And once you start, you may never look at an old tshirt the same way again.